- Categories:
- Maintenance
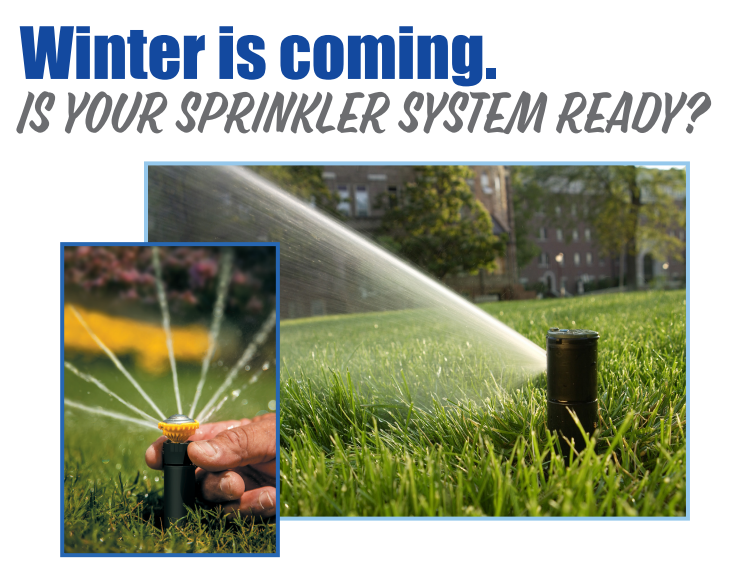
- Introduction
During the freezing winter months, it is crucial to properly prepare and winterize your client’s sprinkler system to protect it from potential damage. Failure to do so can result in costly repairs and replacements come springtime. In this ultimate guide, we will walk you through the process of winterizing your sprinkler system, ensuring that your client’s system remains in optimal condition throughout the winter season. Not only is this beneficial to your client, but it’s a great way to upsell for additional revenue during the slow season.
- Why is winterizing your sprinkler system necessary?
Winterizing a sprinkler system is necessary because freezing temperatures can cause significant damage to the pipes, valves, and other components of the system. When water freezes, it expands, putting pressure on the pipes and potentially causing them to crack or burst. This can result in extensive water damage and the need for costly repairs in the spring.
By winterizing your client’s irrigation system, you can prevent potentially expensive repairs and replacements. It is an essential part of winter maintenance and will allow you to enjoy a hassle-free start-up in the spring.
- The benefits of hiring a professional for winterization
Some of your clients may see winterizing their systems as a “DIY” project. But a quick reminder of the value of working with a professional should help convince them that hiring you for the job is a better option.
First and foremost, professionals have the expertise and experience to ensure that the winterization process is done correctly. You know the specific steps to take to fully drain the water from your system, preventing any potential damage from freezing temperatures. You also have the necessary tools and equipment to complete the job efficiently and effectively.
Another benefit of hiring a professional is that you can identify any existing or potential issues with the sprinkler system that may need attention before winter arrives. You can conduct a thorough inspection, detecting any leaks, damages, or malfunctions that could worsen during the colder months. Addressing these problems early on can save your client from costly repairs or replacements in the future.
Additionally, by hiring a professional, the homeowner can save themselves valuable time and effort. Winterizing a sprinkler system can be a time-consuming process, involving multiple steps and careful attention to detail. By entrusting this task to a professional, they can focus on other winter preparations and have peace of mind knowing that their system is in capable hands.
- Step-by-step guide to winterizing your sprinkler system
Before you begin, it's important to gather all the necessary tools and equipment. You will need an air compressor, a drain valve adapter, a bucket or a hose, and some thread seal tape.
Step 1: Shut off the water supply
The first step is to turn off the main water supply to the sprinkler system. Locate the shut-off valve, which is typically found in the basement or a utility area of the home. Turn the valve clockwise to shut off the water flow.
Step 2: Drain the water from the system
Next, open the drain valve on the sprinkler system. Attach the drain valve adapter to the air compressor and connect it to the fitting on the sprinkler system's drain valve. Slowly open the valve to release any water trapped in the system.
Step 3: Use compressed air to blow out the system
Once the water is drained, use the air compressor to blow out the remaining water from the pipes and sprinkler heads. Begin by connecting the air compressor to the mainline valve of your system. Gradually increase the pressure to around 50-60 psi and systematically blow out each zone of the system, starting with the highest point and working your way down.
Step 4: Inspect and protect the system
After blowing out all the zones, inspect the sprinkler heads, pipes, and fittings for any signs of damage or leaks. Replace or repair any damaged components. Additionally, consider insulating the above-ground pipes with foam insulation to provide an extra layer of protection against freezing temperatures.
Step 5: Turn off the controller and set it to rain mode
Once you're done with the physical winterization process, remember to turn off the controller and set it to rain mode or turn it off completely. This step will prevent the system from turning on accidentally during the winter months.
- Common mistakes to avoid during the winterization process
While winterizing a sprinkler system may seem like a straightforward task, there are several common mistakes. By being aware of these mistakes, you can ensure a smooth and effective winterization process. Here are some common mistakes to avoid:
- Failure to fully drain the system: It's crucial to ensure that all water is fully drained from the system. Even a small amount of water left in the pipes can freeze and cause them to crack or burst.
- Over pressurizing the system: When using an air compressor to blow out the system, it's important not to exceed the recommended pressure. Over pressurizing the system can damage the sprinkler heads and other components.
- Neglecting to inspect for damage: After blowing out the system, take the time to inspect all components for damage or leaks. Ignoring any issues now could lead to expensive repairs come springtime.
- Forgetting to turn off the controller: It's easy to overlook this step, but forgetting to turn off the controller or set it to rain mode can result in the system turning on accidentally during the winter months.
By avoiding these common mistakes and following the proper winterization steps, you can ensure that your client’s sprinkler system remains in good condition throughout the winter.
Ready to get started? We’ve created an easy-to-use flyer to help you promote this service to your clients. Simply fill in your company name and phone number!